NXWitness Integration Guide
This guide provides step-by-step instructions for integrating the NXWitness (NxMeta) Video Management System (VMS) with the ANSVIS application.
Setup the NxWitness System (One-Time Only)
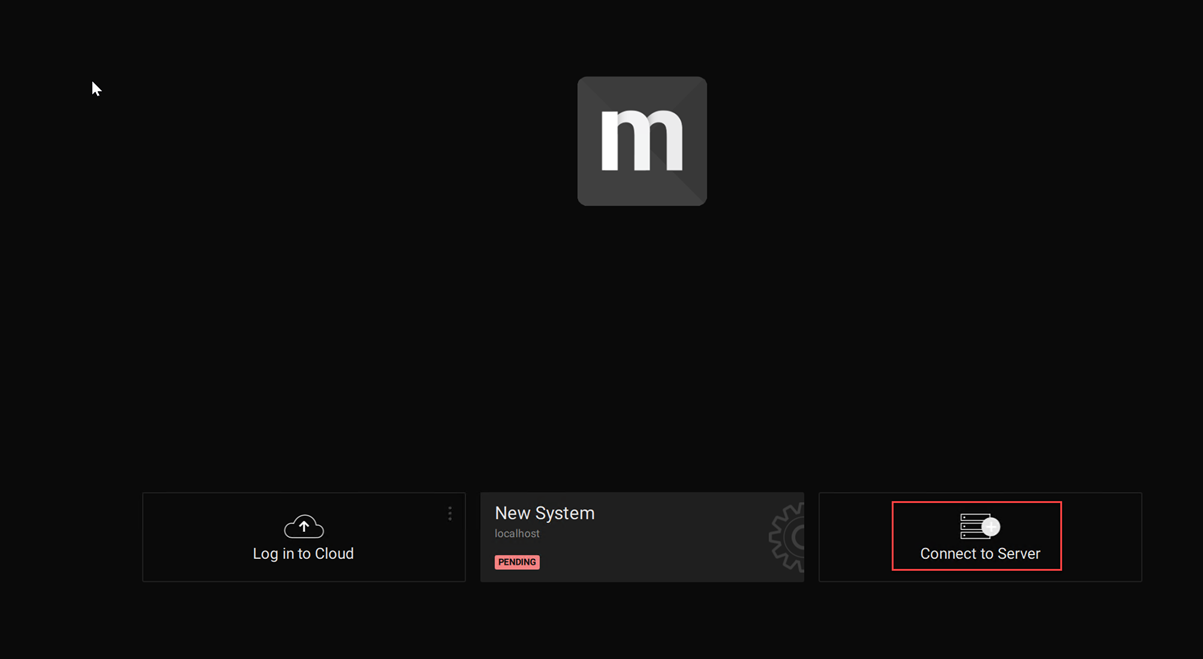
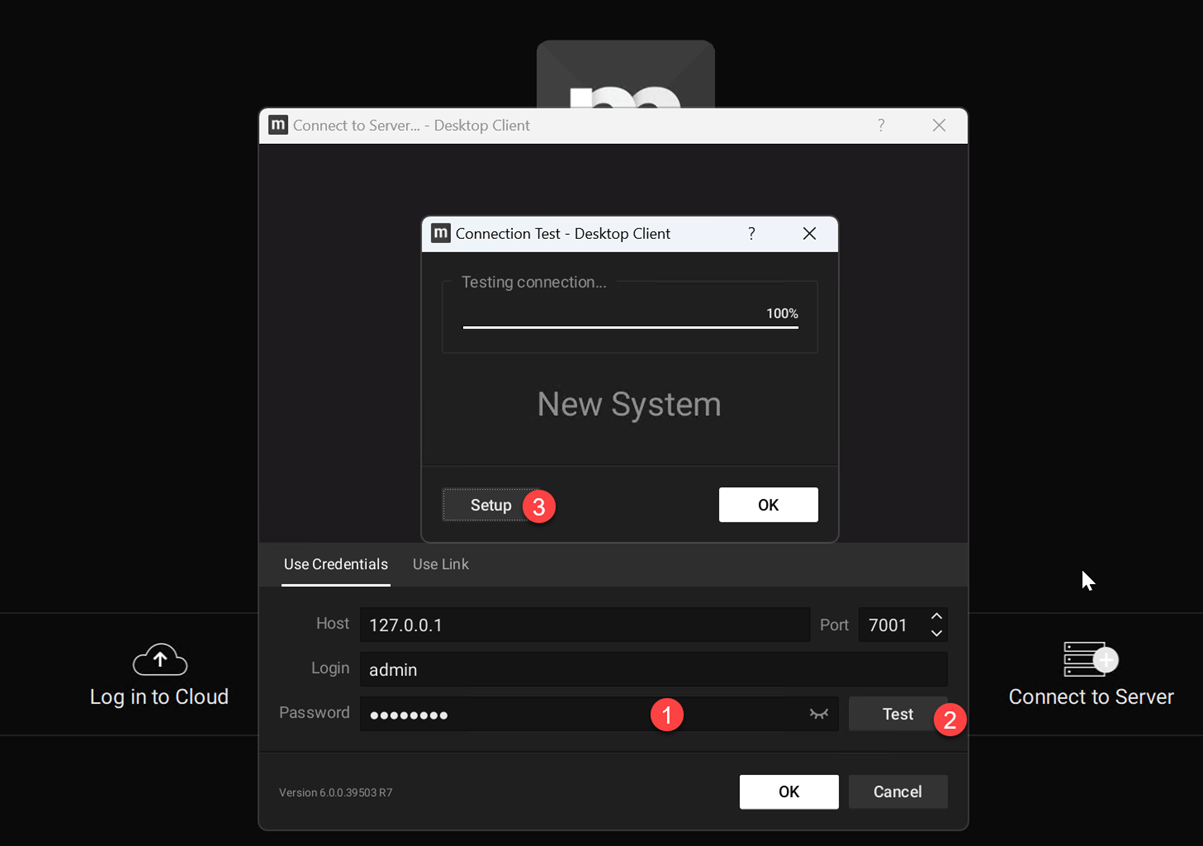
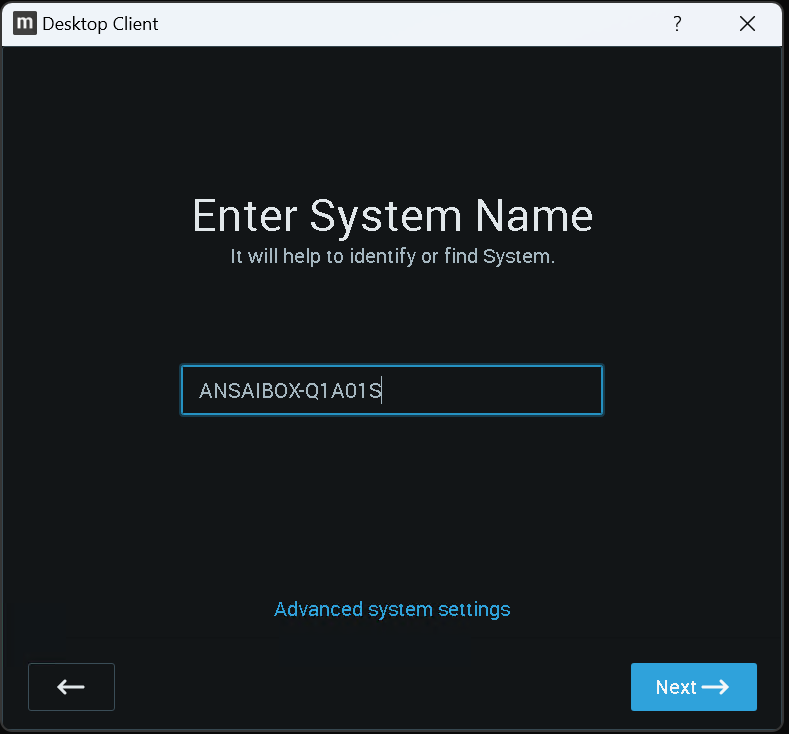
Launch NxMeta and select Connect to Server.
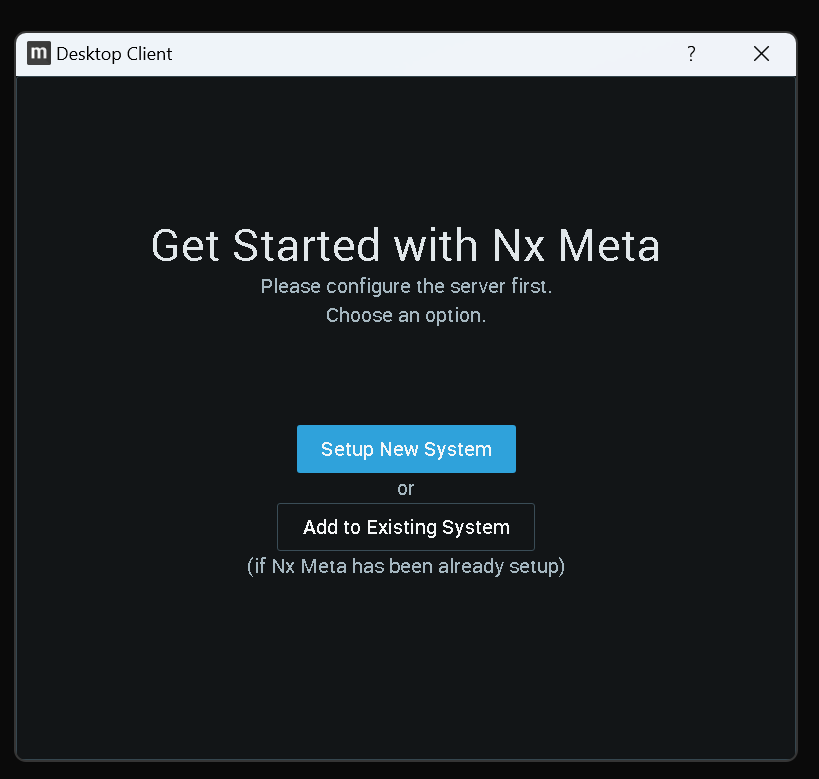
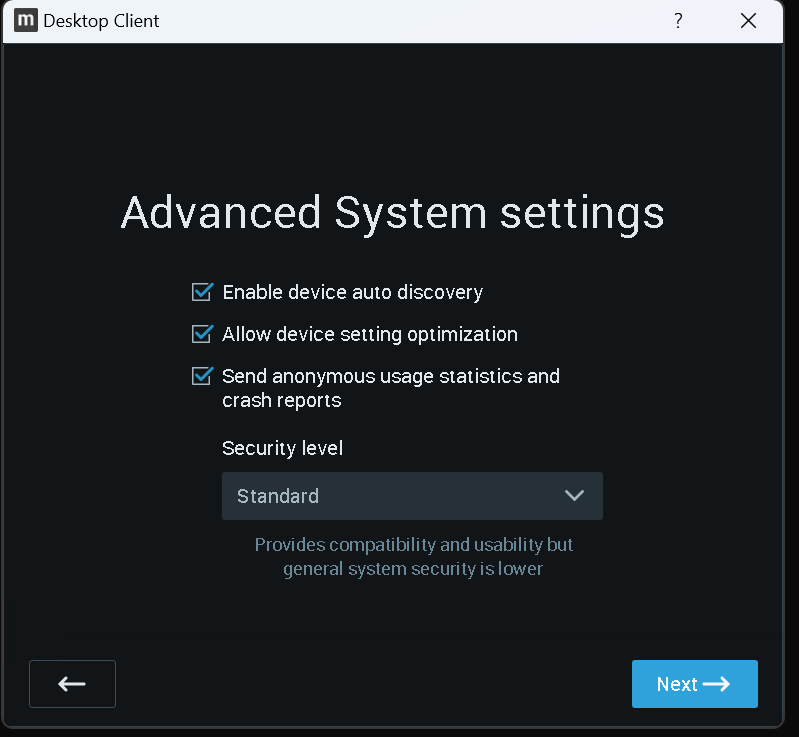
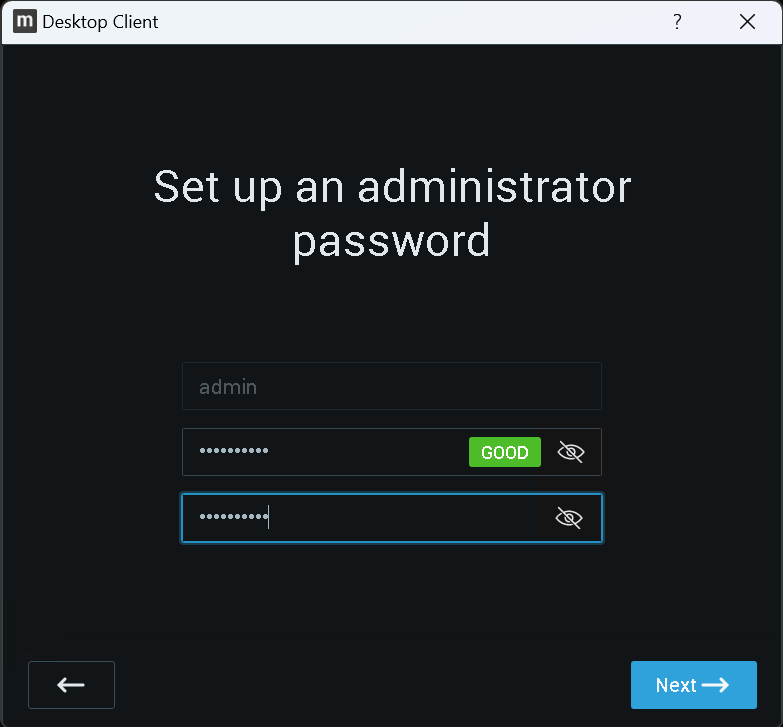
Set up a new system by following the on-screen prompts.
Add cameras into NXWitness
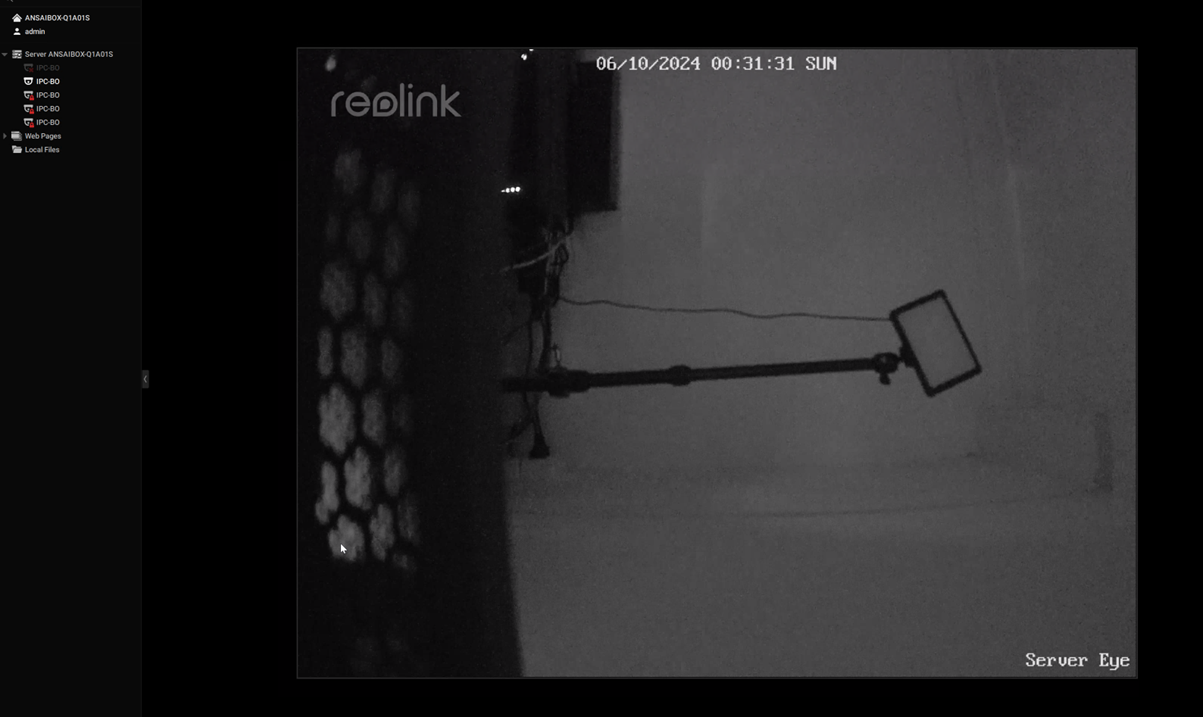
After launching the NxMeta client, the system will automatically discover all IP cameras in the same network.
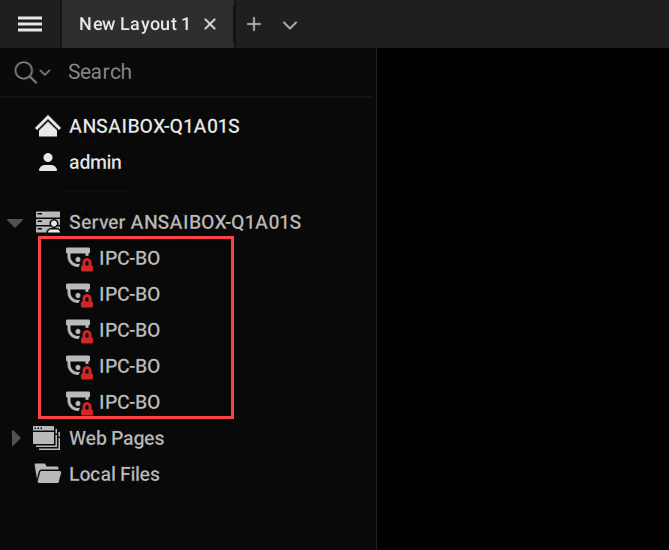
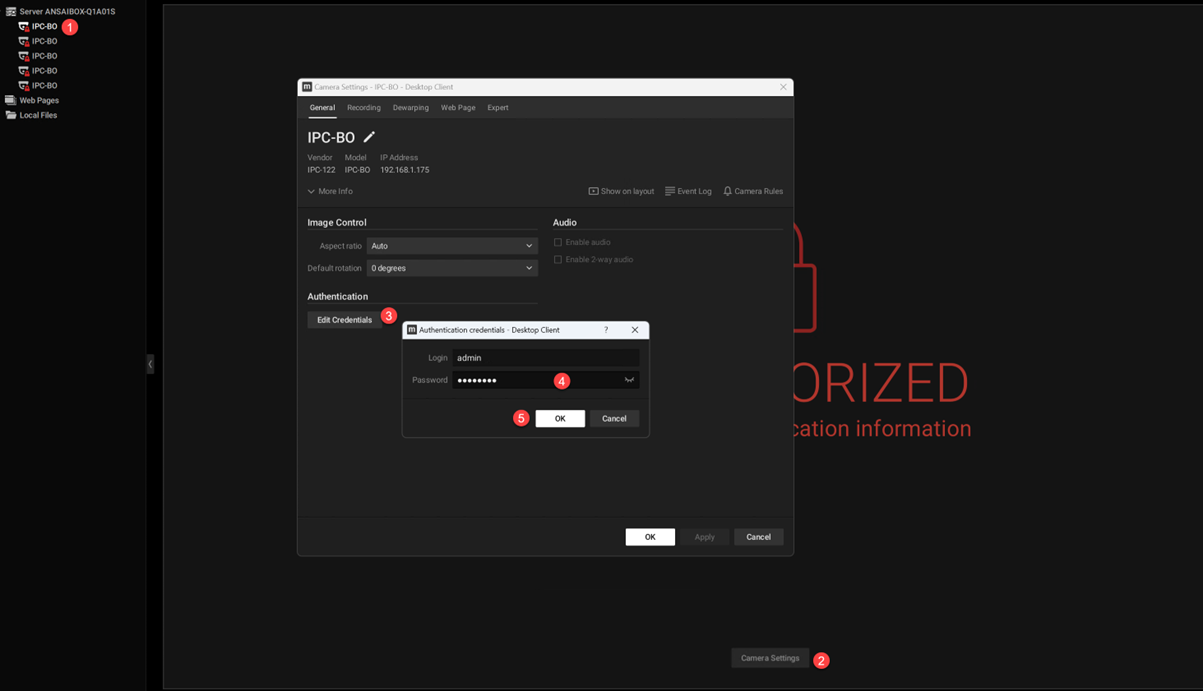
To add a camera to the NxMeta Server, please select this camera and enter camera credentials in the following steps:
Connect ANSVIS to the NxMeta Server
From the ANSVIS, navigate to Settings and select the VMS Integration function.
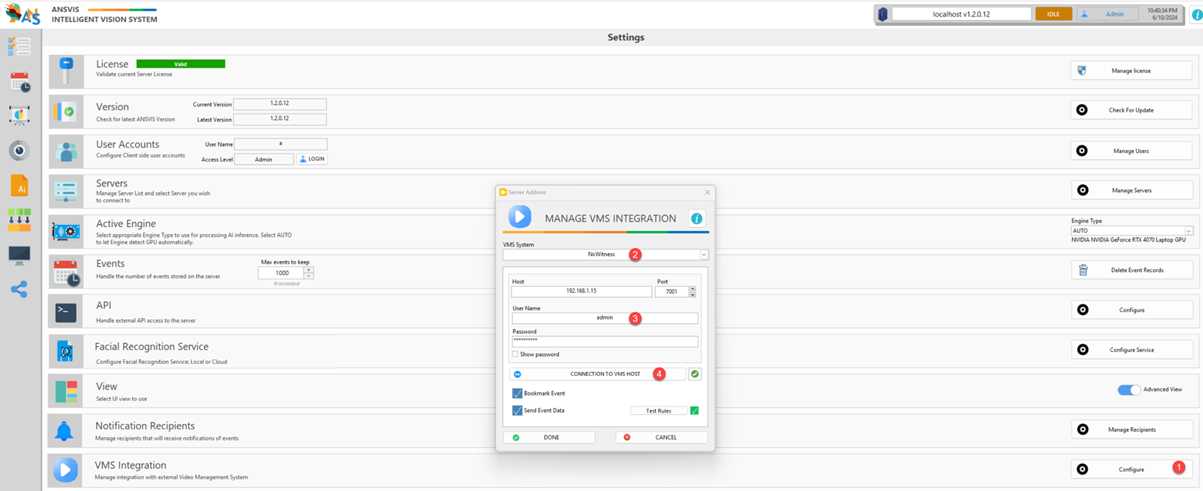
Enter the correct username and password for the MxMeta server and click on Connection to VMS Host. Check the indicator to ensure the connection is successful.

VMS Action
Once connection is successful, you can choose to Bookmark Event and/or Send Event Data to VMS when event is detected
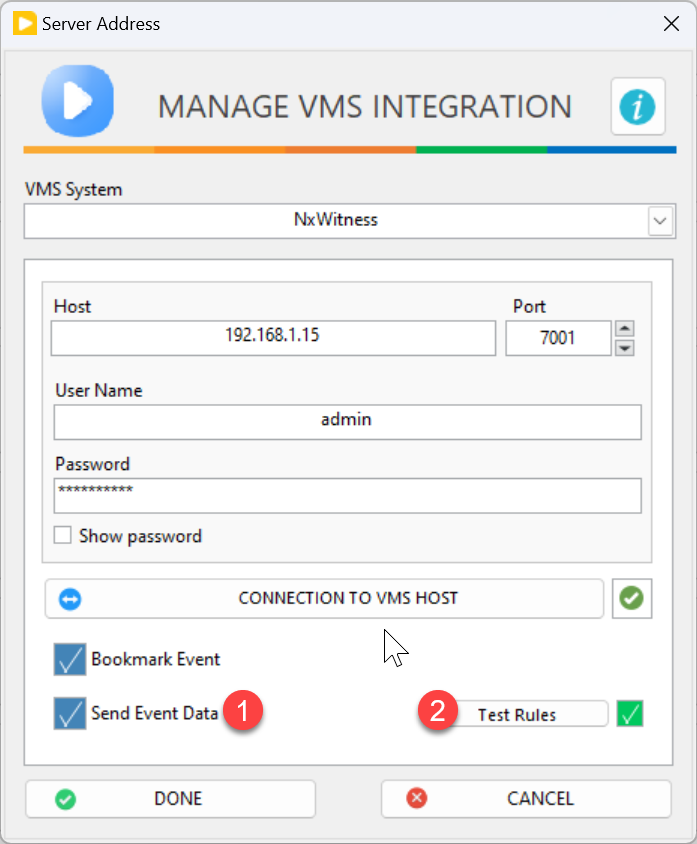
You can click on the Test Rules button to send test data to NxMeta and confirm that ANSVIS can send data.
Send Event Data to NxMeta Server
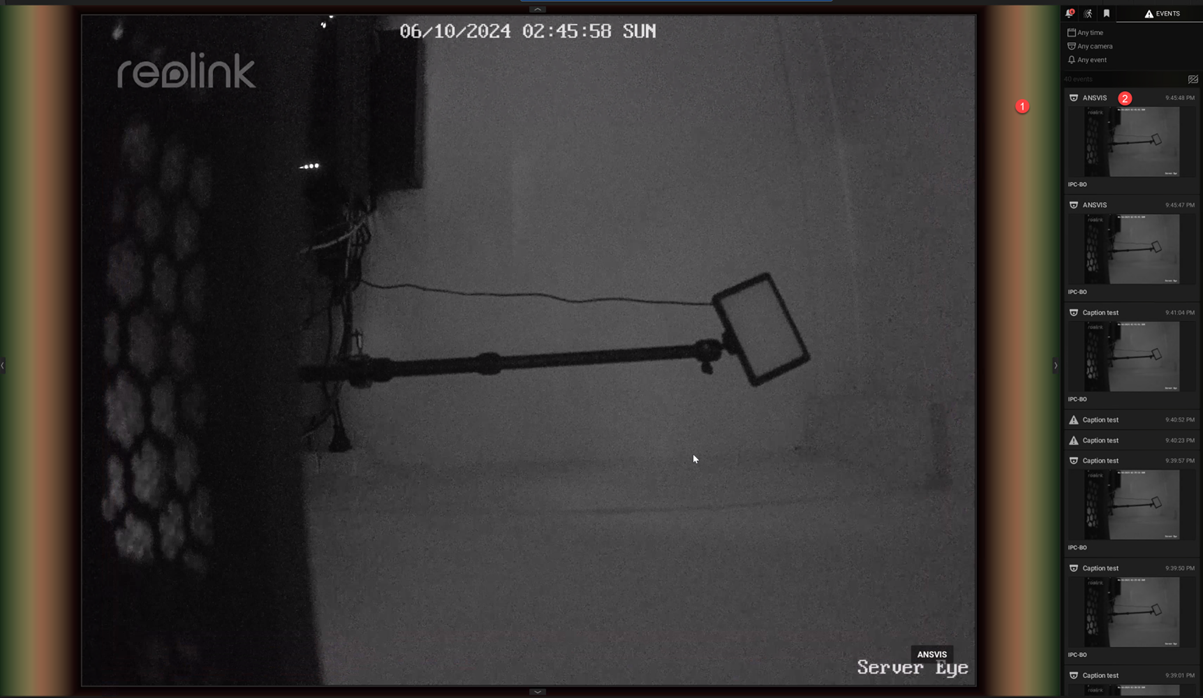
If Send Event Data is enabled, on the NxMeta client, we will see the screen flashes when event is detected and event image is displayed on the side panel
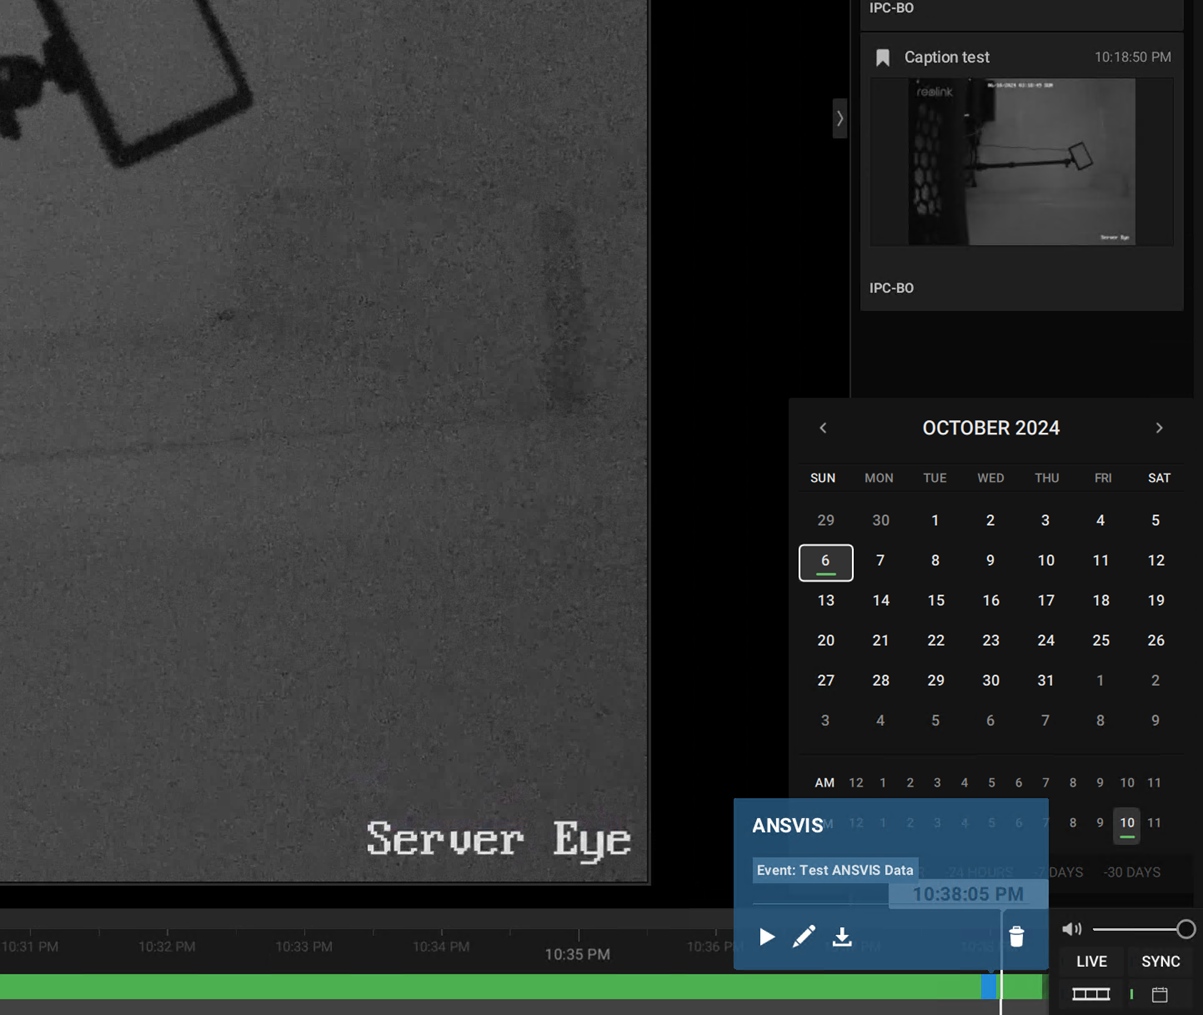
Activate Bookmark on the VMS System
If Bookmark Event is enabled, the NXMeta Client will save a short recording of the event in the camera timeline
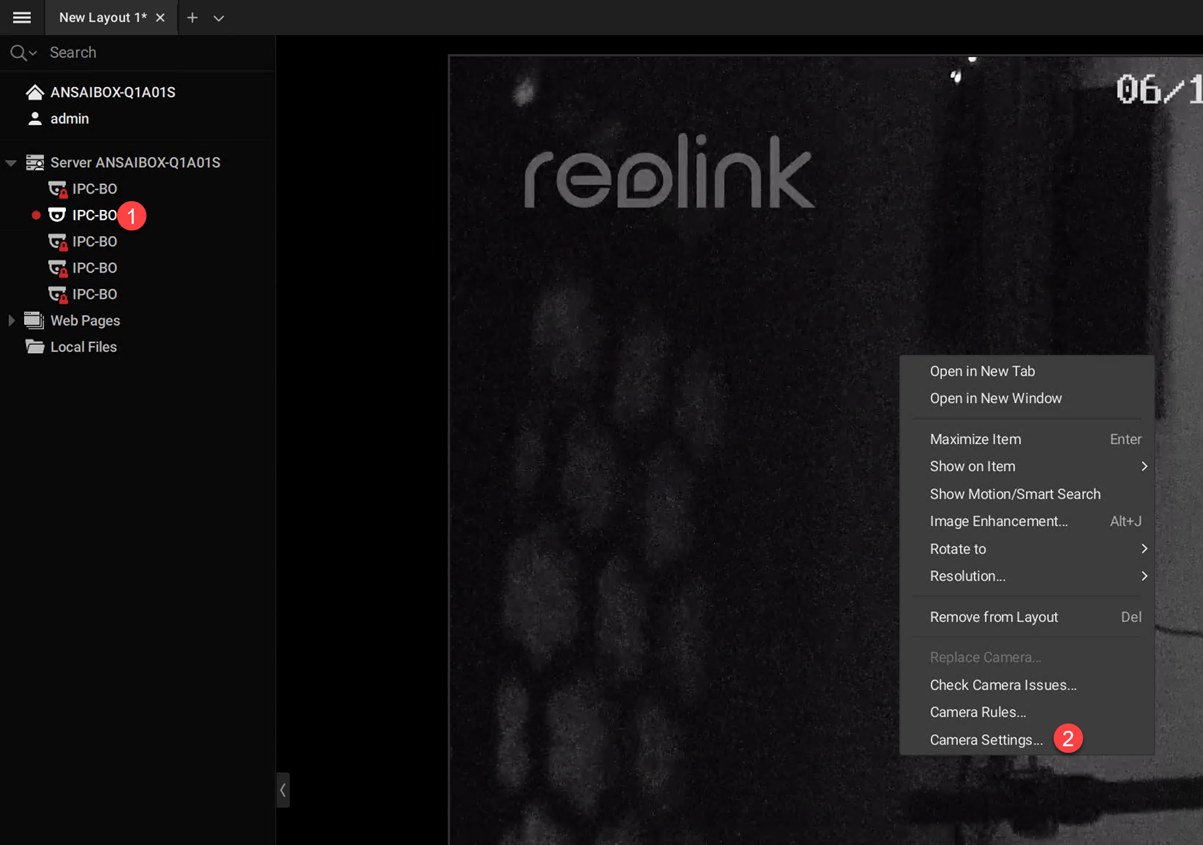
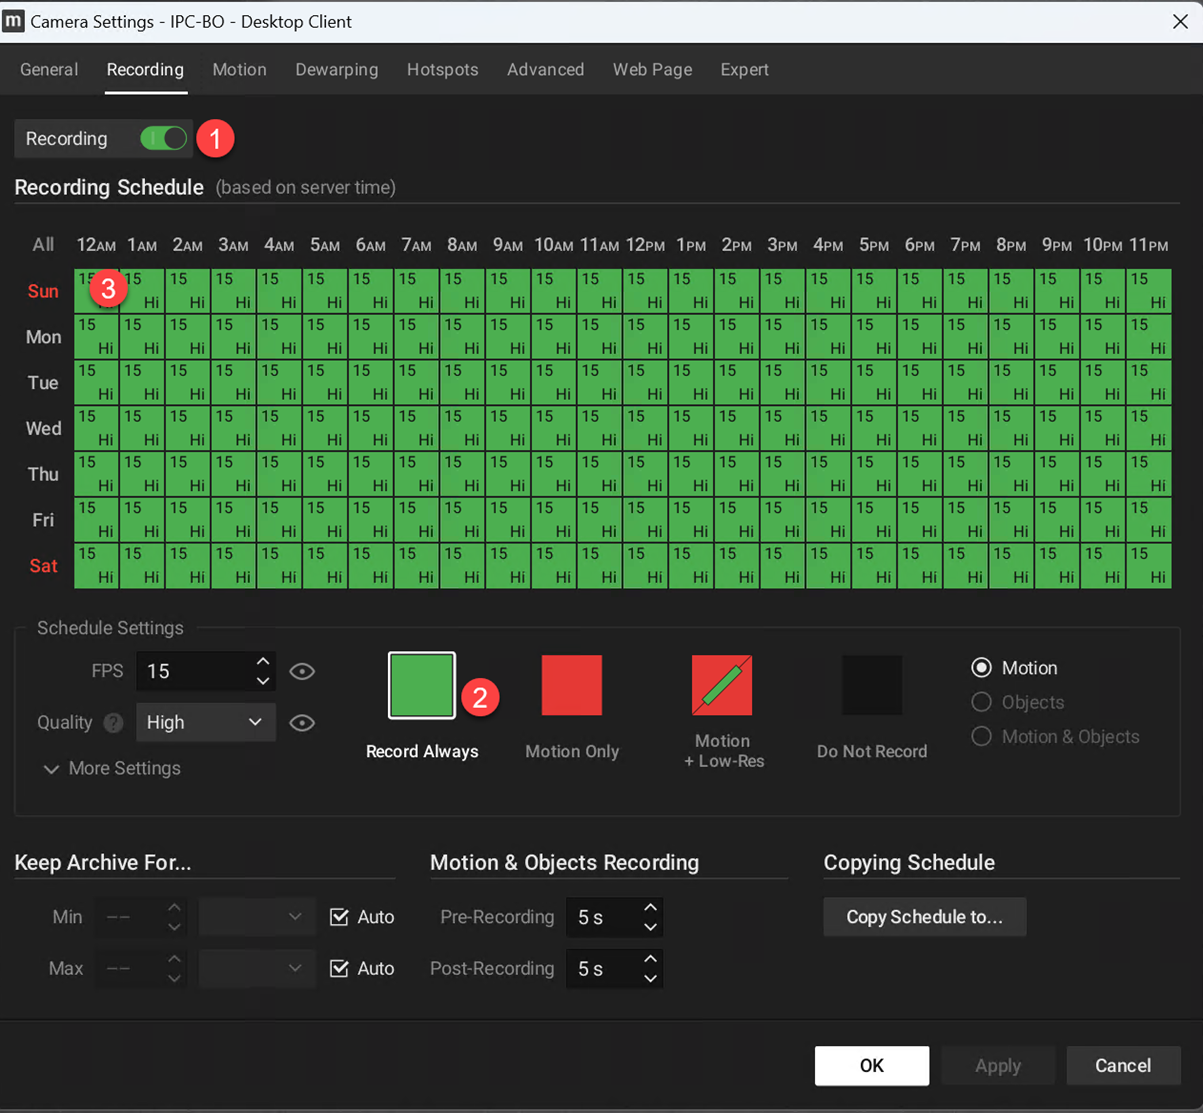
On the NxMeta, access the desired camera setting and configure the recording schedule accordingly.
Setup the recording schedule
On the NxMeta client, we can validate that the bookmark event has been generated successfully.